The speed test in the living room reads 900 megabits per second. The one in the back bedroom crawls in at 40, and your video call freezes every time someone opens the microwave. So you do what the ads have trained you to do: start pricing out a three-pack of mesh nodes, or a shiny Wi-Fi 7 router that promises to blanket 8,000 square feet.
Put the credit card down. A large share of home Wi-Fi complaints trace back not to weak hardware but to where that hardware sits and how it's configured. The router most people own is far more capable than the closet corner it's been exiled to allows. Radio waves don't care about your decor; they care about distance, obstacles, and interference — and every one of those is free to change.
What follows is a fix-it list ordered by payoff. Start at the top, retest after each change, and only reach for your wallet if you hit the bottom and still have a dead zone. Most people never get that far.
Move the Router Before You Spend a Dime
The single most effective free upgrade to your network is relocation. A router broadcasts in a rough sphere, so tucking it against an exterior wall sends half of that signal straight outdoors to warm your neighbor's driveway. Netgear's placement guidance is blunt about the fix: "Place the router in a central location to evenly distribute the signal," and "elevate the router off the floor on a shelf or table for better range," per its router-location guide.
Elevation matters more than people expect. Signal radiates outward and slightly downward, so a router on the floor wastes much of its energy soaking into the subfloor. Up on a shelf or bookcase with a clear line of sight into the rooms you use, it reaches farther through fewer obstructions. TP-Link makes the same case, recommending "an elevated, central location to reduce the impact of physical barriers" in its signal-improvement FAQ.
Then there's the list of places a router should never live: inside a cabinet, a closet, an entertainment console, or a corner behind the TV. Enclosed spaces smother the signal and trap heat, which throttles performance over time. Keep distance from big metal objects and appliances, too — microwave ovens, cordless phones, baby monitors, wireless cameras, and Bluetooth gadgets all crowd the same 2.4 GHz airspace, and metal reflects and scatters the signal.
For a two-story home, Netgear suggests placing the router centrally on the first floor, or near the ceiling of the first floor if most of your devices live upstairs. The goal is the same on any floor plan: put the box in the middle of the demand, not at the edge of the building.
The cheapest network upgrade on the market isn't a device at all. It's the ten minutes it takes to carry the router you already own to the middle of the house and set it up high.
Aim the Antennas With Intent
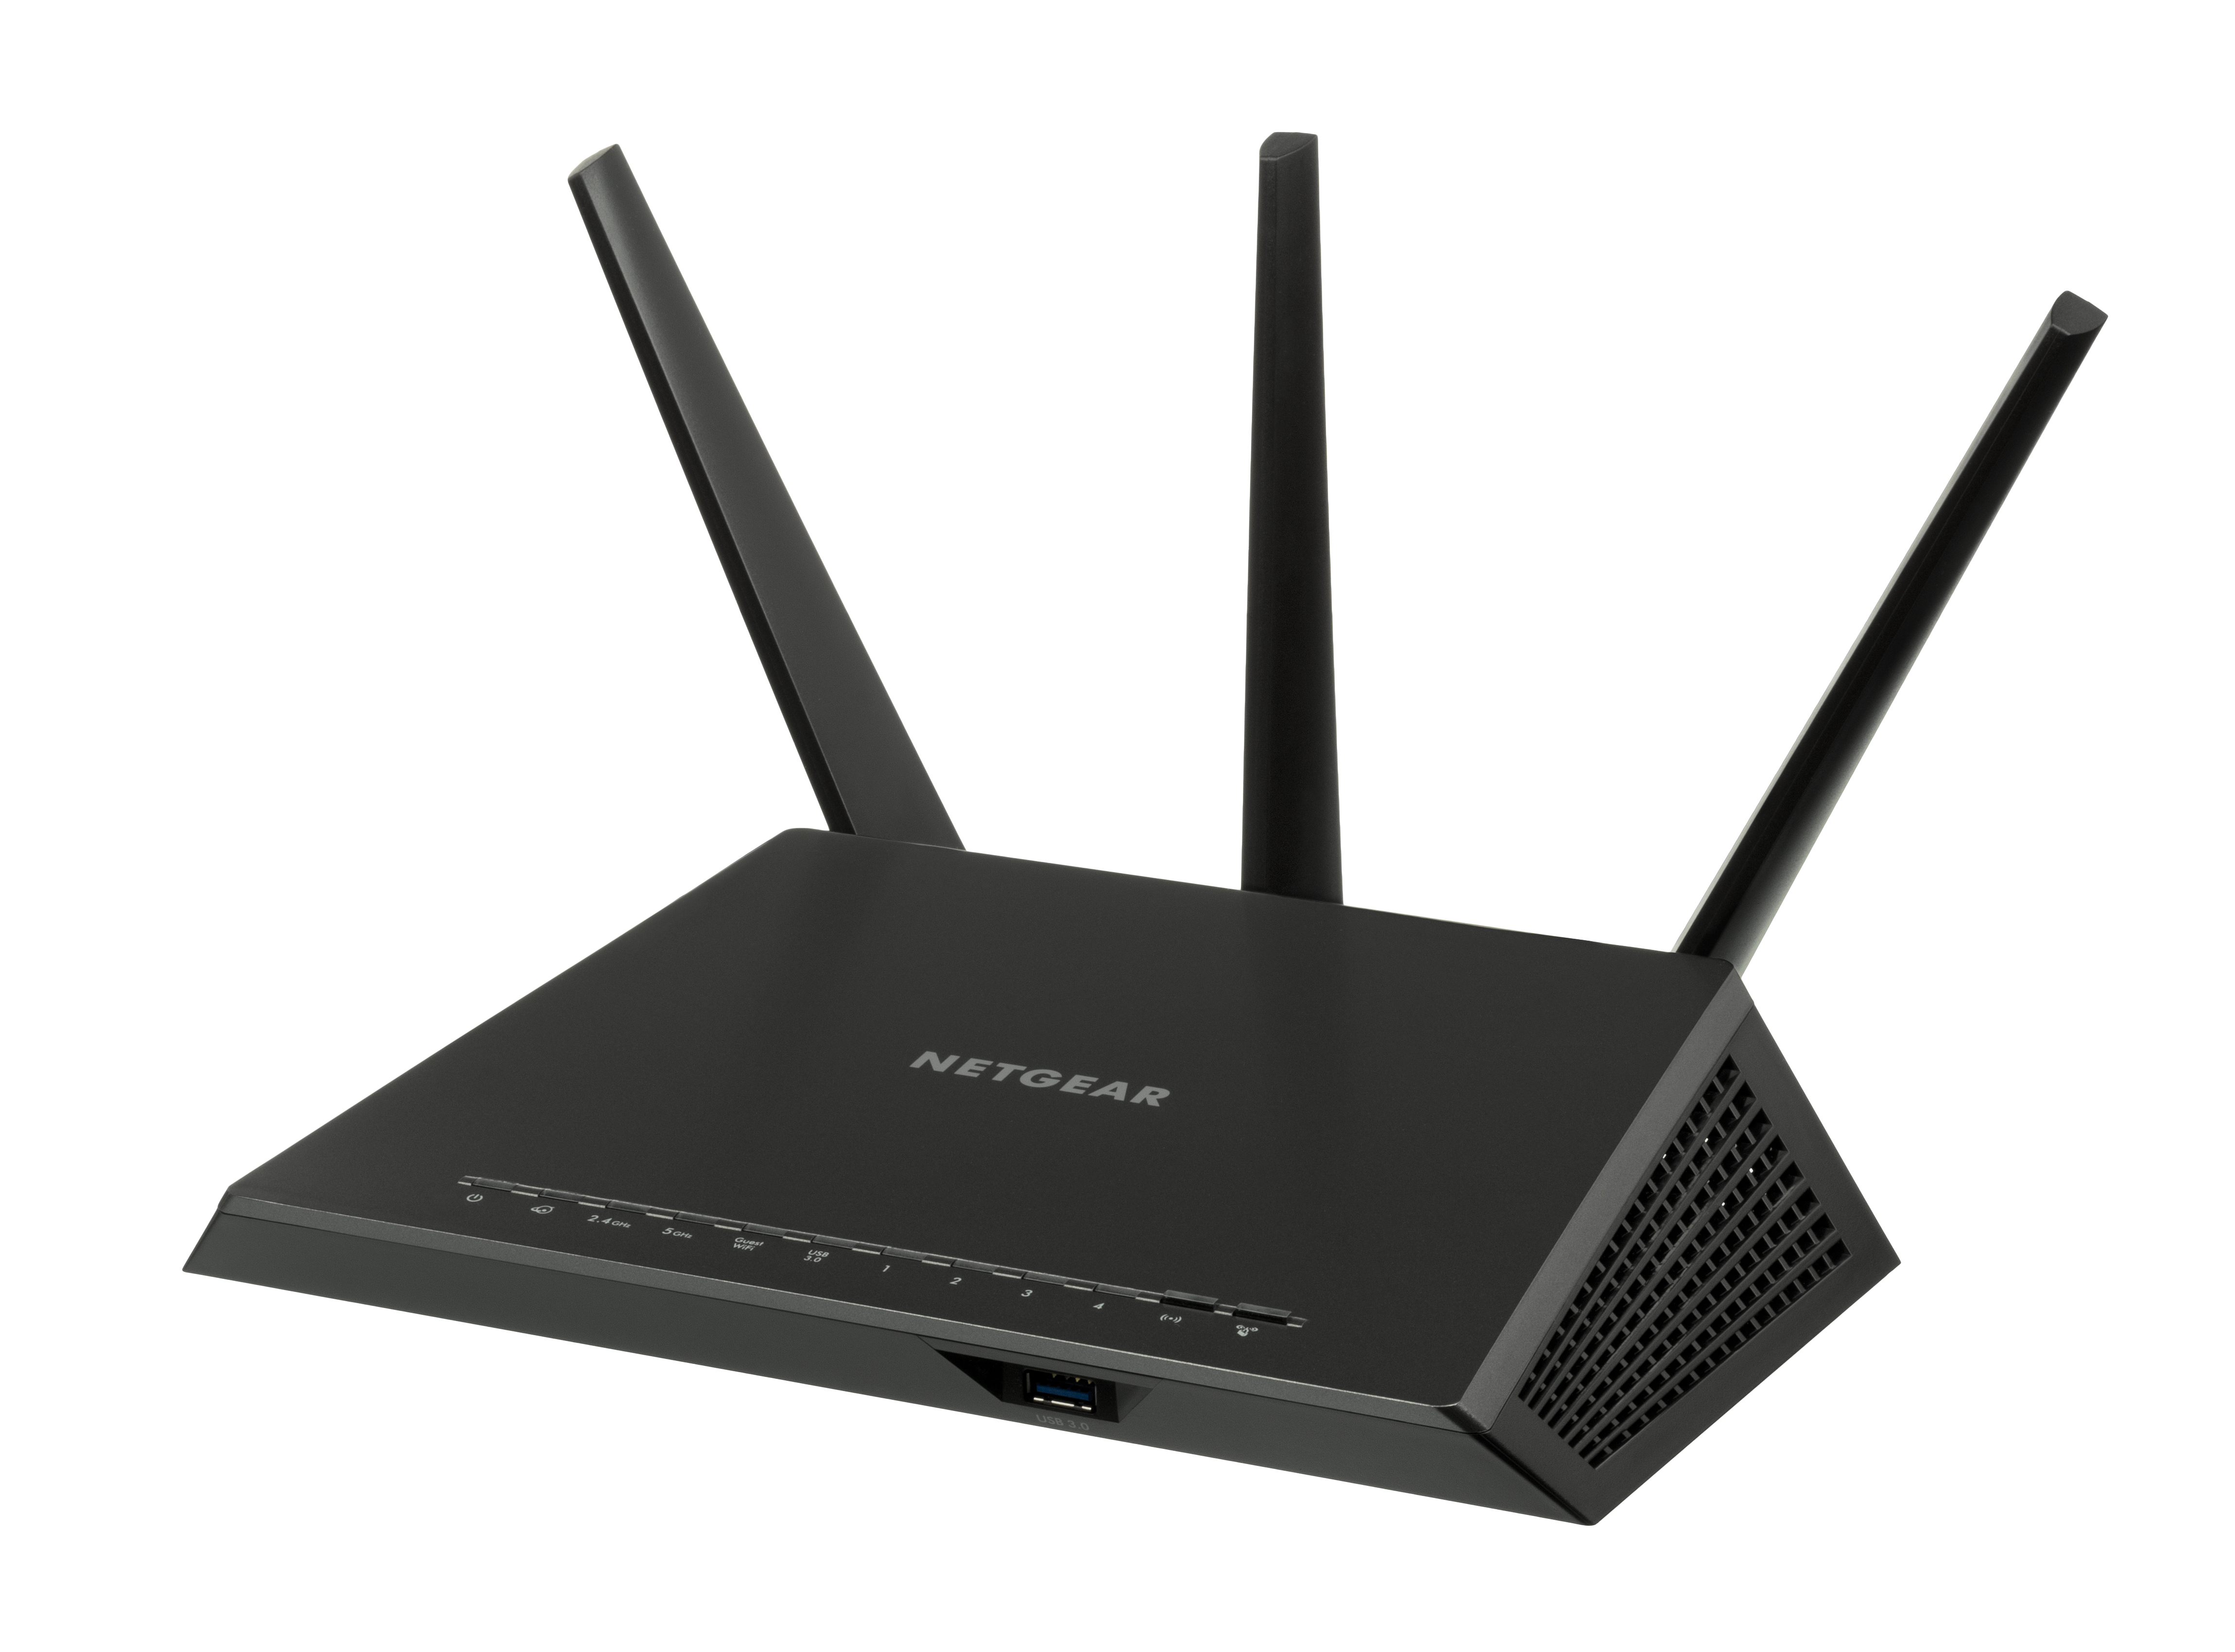
If your router has external antennas, their angle is not decoration — it shapes where the signal goes. The rule is counterintuitive but consistent across manufacturers: for coverage on a single floor, stand the antennas straight up, vertically. That flattens the broadcast pattern into a horizontal disc that spreads sideways across your living space rather than up into the attic.
Have a multi-story home? TP-Link recommends angling the antennas to roughly 30 degrees to push some signal diagonally between floors. And here's the detail that trips people up: an antenna transmits weakly straight out from its base, so parking a device directly beneath an upright antenna puts it in the worst possible spot. Routers with two or more antennas often perform best with them fanned in different orientations — one vertical, one horizontal or angled — to cover both same-floor and cross-floor devices at once.
Internal-antenna routers — most cylindrical and puck-shaped models — don't give you this control, which is exactly why placement and elevation matter even more for them.
Pick the Right Band for the Right Job
Nearly every router sold in the last decade broadcasts on at least two frequency bands, and treating them as interchangeable is a common, quiet mistake. They behave very differently. As TP-Link explains, 5 GHz offers faster speeds but shorter range and greater sensitivity to walls, while 2.4 GHz travels farther and punches through obstacles better despite topping out slower. Newer Wi-Fi 6E and Wi-Fi 7 routers add a 6 GHz band that is faster still and even more allergic to walls.
The winning strategy is to match each device to the band that suits it, rather than letting everything pile onto one:
| Band | Range through walls | Real-world speed | Best used for |
|---|---|---|---|
| 2.4 GHz | Longest reach, best penetration | Slowest | Far rooms; smart-home plugs, bulbs, doorbells, and sensors |
| 5 GHz | Moderate; struggles through walls | Fast | Laptops, 4K streaming, and video calls within a room or two |
| 6 GHz (Wi-Fi 6E/7) | Shortest; wants near line of sight | Fastest | High-bandwidth devices in the same room as the router |
Many routers automate this with "band steering," which advertises one network name and picks a band for each device. When it works, it's seamless. When it doesn't, the logic gets "sticky" and pins your laptop to slow 2.4 GHz long after you're back in 5 GHz range. If speeds feel inconsistent for no obvious reason, split the bands into separate network names — "Home" and "Home-5G" — so you can place each device by hand. Put the thermostat and doorbell on 2.4 GHz; reserve 5 or 6 GHz for gear that actually moves data.
Clear the Airwaves: Channels and Width
Wi-Fi bands are carved into channels, and if you live anywhere near other people, your router is probably shouting over theirs on the same one. The 2.4 GHz band is the worst offender because it has only three channels that don't overlap. TP-Link's advice is to lock the 2.4 GHz radio to channel 1, 6, or 11, and to use a clean set on the 5 GHz band such as 36, 40, 44, or 48.
How do you know which channel is least crowded? A free Wi-Fi analyzer app on your phone will map every network around you and show which channels are jammed. Pick the quiet one, set it manually in your router's wireless settings instead of leaving it on "Auto," and retest. In dense apartment blocks this change alone can separate a stable stream from a stuttering one.
Channel width is the companion setting. Wider channels move more data but are more vulnerable to interference. As XDA Developers notes, the wide 80 MHz and 160 MHz options "work great for Wi-Fi 6E and Wi-Fi 7 networks," while narrower 40 MHz and 20 MHz channels deliver "a more consistent experience" in noisy environments. The practical translation: on a congested 2.4 GHz band, a narrow channel is often steadier; on a clean 5 or 6 GHz band, go wide.
The Settings Almost Nobody Touches
Open your router's admin app — the one you set up years ago and never revisited — and there's a short list of switches worth flipping.
Firmware first. An outdated router is slower and less secure than the same box running current software. Manufacturers ship performance fixes, bug patches, and security updates through firmware, and many routers can install them automatically if you enable the option. Check for an update, then turn on auto-updates so you never have to think about it again.
Turn on QoS. Quality of Service, sometimes labeled "Airtime Fairness," lets the router prioritize traffic so a giant background download doesn't strangle a video call or spike your gaming ping. XDA frames it as defining priority levels so slower devices don't drag down the ones that matter. If your household fights over bandwidth, this is the setting that referees it.
Reboot on a schedule. Routers are small computers, and they get bogged down. HighSpeedInternet.com advises rebooting "at least once a month to clear out the memory and refresh your connections," explaining that a restart frees up memory, lets the router rescan and "select the best frequency channels," and reassigns network addresses to clear conflicts, per its reboot guide. Just don't confuse a reboot with a reset: a reboot power-cycles the device, while a factory reset wipes every setting you just dialed in. Save the reset button for genuine troubleshooting dead ends.
Does the Aluminum-Foil Trick Actually Work?
You've probably seen the hack: bend kitchen foil into a curve, prop it behind the router, and watch your signal soar. There's a real study underneath the folklore — and a big asterisk.
Researchers at Dartmouth, led by assistant professor Xia Zhou, built a system called WiPrint that computes the ideal shape for a reflector based on a room's layout, 3D-prints it, and coats it in aluminum foil. Placed around the router's antennas, the reflector concentrates the signal toward the rooms you want covered and away from the ones you don't. Per TechCrunch, the whole reflector cost "about $35," and the team also tested the internet's favorite anecdote — a soda can propped behind the router.
The catch is that the physics only pays off when the reflector's shape is engineered for your specific space. A precisely computed curve is a world apart from a wad of Reynolds Wrap crimped by hand, which can scatter your signal as easily as focus it. The honest verdict: shaping a reflector can direct Wi-Fi, but a random foil sculpture behind the router is a coin flip. Your ten minutes are better spent on placement, bands, and channels.
Where to Start
Work the list in order and retest after each step, because the fixes compound and you want to know which one earned its keep. Relocate the router to a central, elevated, open spot and get it out of the closet. Stand the antennas up for one floor, angle them for two. Sort your devices onto the right bands, then hunt down a clean channel and set the right width. Update the firmware, switch on QoS, and give the box a monthly reboot.
None of this costs a cent, and for many households it turns a "dead zone" back into a working room. If you exhaust every step and the far corner still won't hold a signal, the problem is genuinely one of coverage — a house too big, too tall, or too solidly built for one radio — and that's when a mesh system or wired access point earns its price. But diagnose first. The gear you already own has more to give than you think.