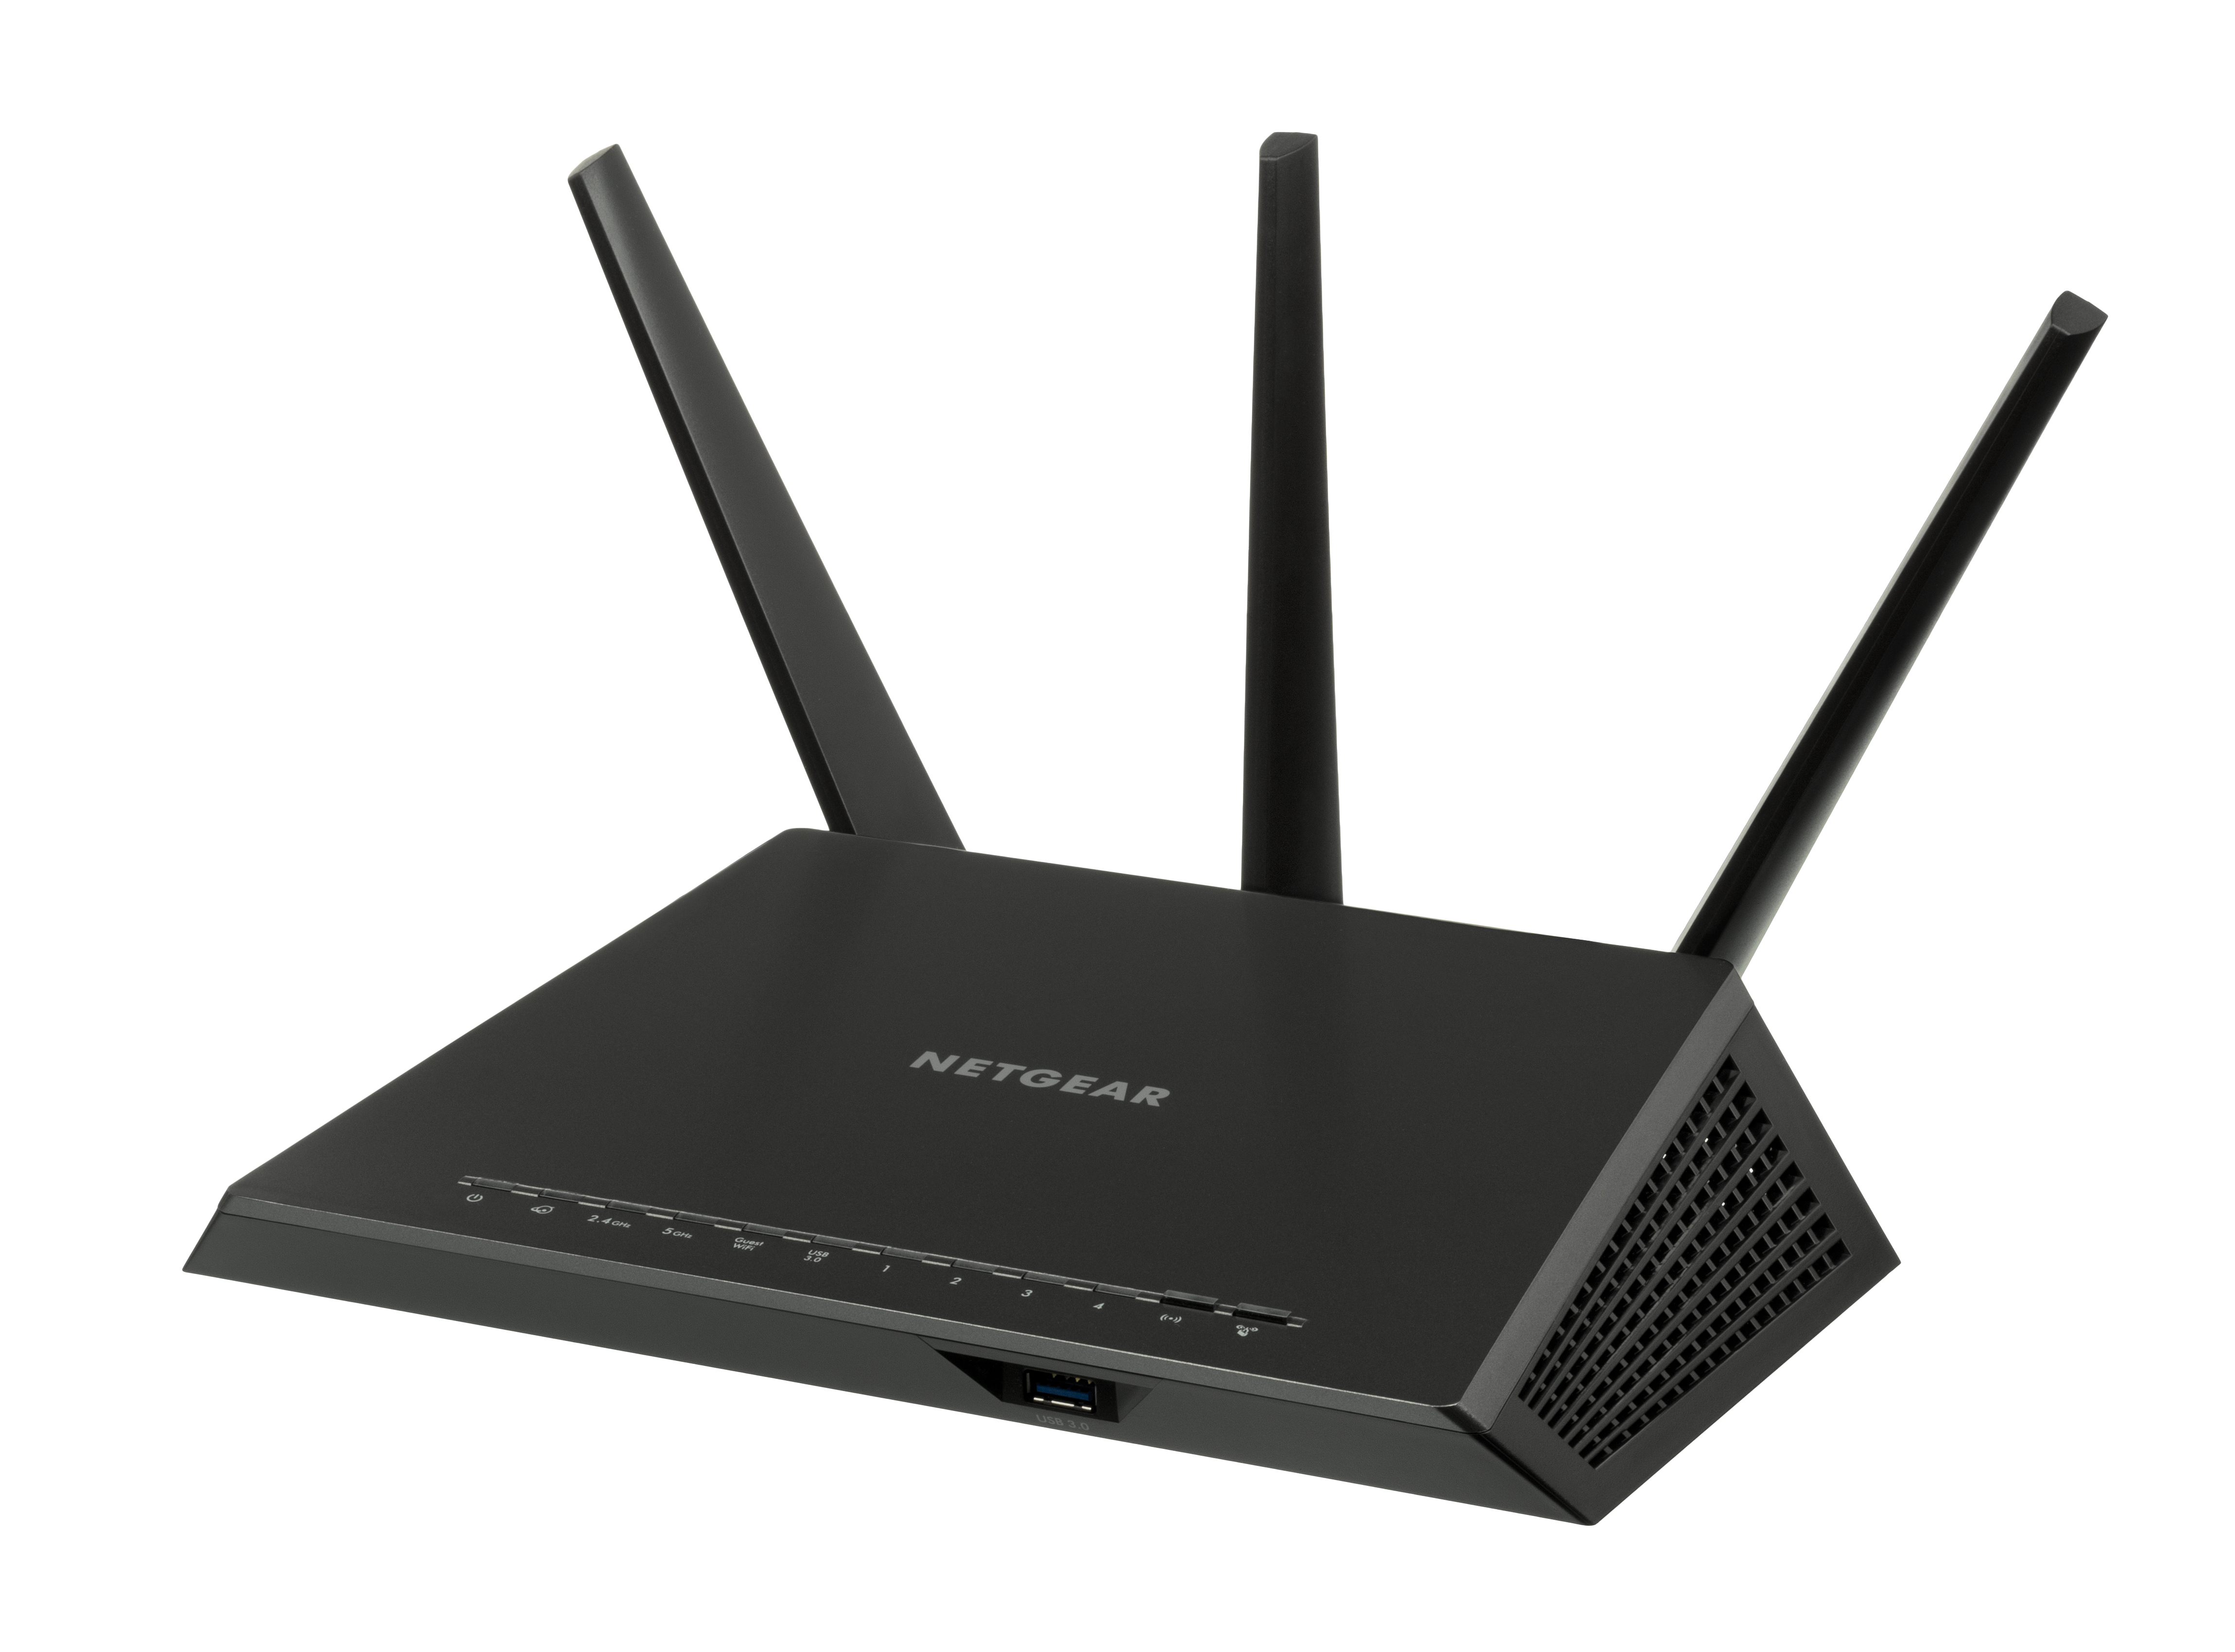
Open your router's app or admin page, tap the list of connected devices, and there's a fair chance you'll find something you can't place — an "unknown" client, a random Android phone, a smart bulb you forgot you owned. Or maybe you know exactly what you're looking at: a teenager's tablet that needs to go dark at 10 p.m., or a work laptop you'd rather keep off the family network. Either way, the fix is the same feature — blocking a device — and every mainstream router sold in the US supports some version of it.
The trouble is that "block a device" means at least two different things depending on where you tap. One method quietly cuts a device off at the router and keeps it off. Another just pauses its internet for the evening. A third — the classic MAC address filter — looks bulletproof but has a loophole that modern phones drive straight through. Knowing which lever you're pulling matters, because pulling the wrong one can leave a "blocked" device happily back online an hour later.
What follows is how blocking actually works on the routers most Americans own — NETGEAR, TP-Link, ASUS, and Amazon's eero — plus what to do instead if you suspect a stranger is riding your Wi-Fi.
Start by Seeing Everyone Who's Connected
Every current router keeps a live roster of attached devices, and it's the first place to look. In a mobile app — NETGEAR's Nighthawk or Orbi app, the TP-Link Tether app, the ASUS Router app, or the eero app — that roster is usually the home screen or a "Devices" tab. In a browser-based interface you'll find it under a heading like "Attached Devices," "Connected Devices," or "Client List."
Each entry shows a device name, an IP address, and a MAC address — the 48-bit hexadecimal identifier (something like A4:83:E7:2C:5B:19) that every network adapter carries. On a TP-Link router you can also pull that information from IP & MAC Binding > ARP List, per TP-Link's support documentation. The MAC address is what most blocking tools key on, so if you plan to block something by hand, that's the string you'll copy.
The hard part is usually identification, not blocking. Cross-reference by powering devices off one at a time and watching what drops from the list, or read the first half of a MAC address, which encodes the manufacturer. If a device still won't resolve to anything you own, that's your cue to keep reading — the answer may not be a filter at all.
Two Ways to Block, and They Don't Behave the Same
There are broadly two mechanisms, and mixing them up is the most common mistake people make.
Access control, or MAC filtering, lives in the router itself. You build either a blocklist (a "deny" list — everything connects except the addresses you name) or an allowlist (an "allow" list — nothing connects except the addresses you name). This is persistent: a blocked device stays blocked until you remove it from the list, and the rule applies at the network level.
App-based pause and block is the friendlier, two-taps version most people actually use. It does much the same job through a cleaner interface, and often adds scheduling — bedtime cutoffs, homework windows, and per-person profiles that group all of one kid's gadgets together.
Here's how the main approaches stack up:
| Method | Where you set it | What it does | Best for |
|---|---|---|---|
| Deny list (MAC filter) | Router web interface | Keeps named devices off the network | Banning a specific known device |
| Allow list (whitelist) | Router web interface | Blocks everything except named devices | Locking a network to known hardware |
| App block | Router's mobile app | Disconnects a device, prevents rejoin | Quick, one-tap removal |
| App pause | Router's mobile app | Temporarily cuts internet; device stays connected | Bedtimes, dinner, screen limits |
Blocking on NETGEAR, TP-Link, ASUS, and eero
The exact taps vary by brand, but the logic underneath is identical. Here is the current path on the four systems you're most likely to own.
NETGEAR (Nighthawk and Orbi). In a browser, go to routerlogin.net — or orbilogin.com for an Orbi — and sign in; the factory login is the username admin with the password password. Open ADVANCED > Security > Access Control and check "Turn on Access Control." NETGEAR then gives you two modes: "Allow all new devices to connect," after which you manually select devices to block, or "Block all new devices from connecting," which flips the whole thing into an allowlist. Check the offending device, click Block, then Apply. One nuance is worth knowing, per NETGEAR's support pages: a blocked device loses your internet connection but keeps access to the local network. To block from your phone instead, open the Nighthawk app and tap the Pause/Resume slider on the device.
TP-Link. Log in at tplinkwifi.net (or 192.168.0.1) with admin / admin. On many models, Wireless > Wireless MAC Filtering lets you Add New, type the MAC address, set the status to Enabled, and choose Deny under Filtering Rules so that only the listed device is kept off. Newer TP-Link firmware folds this capability into Advanced > Parental Controls, where you attach a device to a profile and apply schedules. In the Tether app, tap the client and choose Block.
ASUS. In the ASUS web interface, open Wireless > Wireless MAC Filter, set Enable MAC Filter to Yes, and choose Reject to keep the listed addresses off the wireless network, according to ASUS's support site. The alternative setting, Accept, turns the same list into an allowlist. The ASUS Router app mirrors this with a per-device block.
Amazon eero. eero leans hardest on its app. Open the device in the eero app and choose Block. Per eero's help center, this "disconnects the device and prevents it from rejoining your network, even if the correct password is entered" — and if the device is online at the time, it immediately loses its connection and shows an error. That's a genuinely hard eviction, which makes eero one of the more decisive systems for this particular job.
| Router brand | Web interface path | Mobile app control | Block strength |
|---|---|---|---|
| NETGEAR Nighthawk/Orbi | ADVANCED > Security > Access Control | Nighthawk/Orbi app (Pause slider) | Blocks internet; local access remains |
| TP-Link | Wireless MAC Filtering, or Parental Controls | Tether app (Block) | Full network block |
| ASUS | Wireless > Wireless MAC Filter (Reject) | ASUS Router app | Full wireless block |
| Amazon eero | App only | eero app (Block) | Hard block; can't rejoin even with password |
Block or Pause? Choose Deliberately
The single most useful distinction is the one eero draws between blocking and pausing, and it applies in spirit to every brand.
"Paused devices can still connect to your network... This is different from blocking — blocked devices can't reach the internet and are unable to join your eero network at all, resulting in an error even if the password is correct." — eero Help Center
Pause is a temporary, reversible timeout: the device stays associated with the network and snaps right back when you unpause it. Block is eviction. For parental control — no streaming after 9 p.m. — reach for pause, or a per-person profile that bundles a child's phone, tablet, and console together. To remove a device you never want back, block it outright.
The Loophole That Breaks MAC Filtering
Here is where a lot of well-meaning "just MAC-filter the intruder" advice quietly falls apart. Since iOS 14 shipped in 2020, iPhones and iPads generate a new random MAC address for each network they join — Apple calls it a "private address," and it's switched on by default. Android added the same capability back in Android 9 (2018), and by Android 10 it ships enabled by default on Google, Samsung, and OnePlus phones, according to security vendor CUJO AI.
For a MAC filter, that's a real problem. The address you painstakingly added to your deny list may not be the address that phone presents next week. As CUJO AI puts it, "device-based parental controls and malicious content blockers often use MAC address blacklists and whitelists. Whenever a device randomizes its MAC address, these protective measures need to be set up anew."
"Cannot detect it — cannot protect it." — CUJO AI, on the security cost of MAC randomization
There's a deeper issue, too: MAC addresses were never a real security boundary. They travel over the air in the clear and are trivially spoofed, so a determined freeloader can copy an address that's already allowed or simply generate a fresh random one. MAC filtering is perfectly fine for organizing the hardware you own and recognize, but it is not a lock, and it will not reliably keep out someone who has decided not to stay out.
If You Think a Stranger's on Your Wi-Fi, Change the Password
When the device on your list is genuinely unfamiliar and you want it gone for good, the definitive move isn't a filter — it's a new Wi-Fi password. Changing the network key, and confirming along the way that you're running WPA2 or, better, WPA3 encryption, instantly disconnects every device and forces each one to re-authenticate. Anything you don't personally re-enter the password on stays off, random MAC address or not. It's the one action a spoofed or randomized identifier can't dodge, which is exactly why it beats a filter against an actual intruder.
A couple of habits make the cleanup smoother. Put visitors and smart-home gadgets on a separate guest network, which every eero, Nighthawk, and TP-Link system can spin up in a couple of taps. A password change on your main network then never inconveniences a houseguest, and a compromised smart plug can't see your laptop or your files. Save the block feature for what it's genuinely good at: quietly managing the devices you own, on a network whose password only you and your household know.
The Bottom Line
Blocking a device is a two-minute job once you know which lever you're pulling. For your own household, the app is usually all you need — pause on a schedule, or block outright to kick a device off the network. For a stranger you never want back, skip the filter and change your Wi-Fi password: it's faster, it's absolute, and it's the one method that still works when the MAC address is a moving target.